Turtle Beach Sweater

If I could somehow merge each differential feed test, every practice rib band attachment and all the trial sleeve insertions into SWEATERS, my crafted fashion wardrobe would be much bigger by now. But I can't. And Turtle Beach is only the second cut and sew sweater I've completed. 

Practice does indeed make improvement. Once I was actually satisfied with the cut of the neckline, (Third time's the charm.) everything went quickly and easily. I no longer set in my set-in sleeves; I use the flat method and sew the side seams later. It's faster. Serging in the round? No problem -- I just may do a tutorial on the topic one day.

Working with this fabric was a bit of a surprise for me. I know this sounds strange coming from the designer/knitter of the fabric, but up until this point I'd only cut and sewn 100% wool. The Turtle Beach fabric (available here) is mostly bamboo -- 86% bamboo and 14% merino wool. I love the subtle sheen and the drape of the material, but frankly, the fibers of bamboo yarn are more slippery than the wool fibers I've gotten used to. I hadn't had any raveling issues with 100% merino wool Providence sweater knit fabric, but I had to be careful with this bamboo/wool combination. I wouldn't label it a huge problem, but where previously I'd imagined getting by with less than 1/2 inch seam allowance, I was very happy for the 1/2 inch this time.


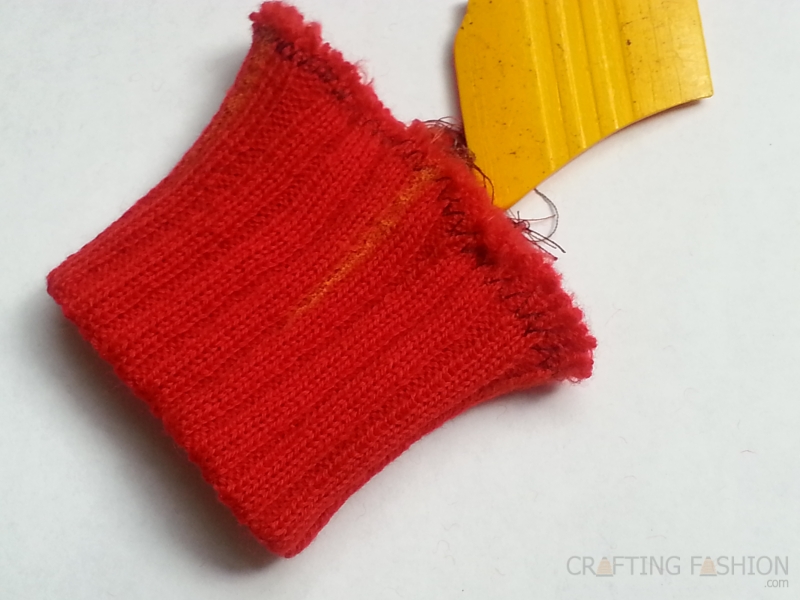
The Turtle Beach sweater is very comfortable with its 3/4 sleeves, easy scoop neck and contoured, but not-too-tight fit. I love the feel of this fabric against my body. The bands at the neck and cuffs are doubled merino wool jersey, attached in exactly the same way I attach rib bands. I decided against a band at the bottom, however, because of the drape of the fabric. I hemmed the bottom instead. I've always loved lace hem facing, but I discovered that it's rather stiff and scratchy compared side by side to the elastic lace used for lingerie. So, lingerie elastic lace it is!

I'm beginning to feel more confident with my cut and sew skills. And I'm ready for something dramatic next time.

O!

In the Works: Cardigan, Dress, Pullover

Unlike some who sew, I love the word "craft". To me, it represents carefully chosen materials and the devotion of time and energy to a highly detailed process. It's what makes a special object what it is.

And so, I've been at it again, crafting fashion. I've got three projects in the works.

Project 3
When I think of a cardigan sweater, I usually think wool and I think warm. But when I say cardigan this time I just mean a top of knit fabric that opens all the way in the front. This cardigan will be made of a simple gauzy material that I knitted a couple of days ago. I was originally inspired by the memory of a cover-up I owned decades ago. I wore it on cool summer evenings and as a cover-up on the beach. The fabric looked a lot like this.

Though I was going to try to re-create the cover-up, I may very well come up with something very different.

Project 2
I've finally decided on my next project from Pattern Magic Stretch Fabrics (See Recommended Books in Books, Notions & Tools.)  Just as I turned a tube top into a hat/cowl last time, I'll be making a few changes. This time I'm going large instead of shrinking the project. I'm turning "Sharp and Snappy B" from a top into a dress. I imagine it will look something like this.

I'm in the middle of developing the perfect knit fabric right now.

Project 1
The very next project I sew will be a top of this sweater knit fabric, which I recently made available in the shop.

It's a tuck lace fabric. Not a true lace, this has a tiny bit of openwork. It's mostly a silky bamboo with a little merino wool thrown in for color depth plus added texture and stability. The fabric is very stretchy and drapey. I don't want to use an interfacing, because the interfacing might show through. Instead I'll use jersey bands at the neck and hem of a complimentary fabric that's this fabric's opposite -- wool with a little bamboo. My plans are to start sewing this one during #vcraftnite (formerly #vcn) tomorrow.

Now that I've published my upcoming projects, I guess I'm going to have to follow through. I better get started.

O!

Sewing a Rib Band to a Cut and Sew Sweater

Prepare your rib band first and determine the best length and width for your band. Read Determining the Length and Width of Rib Bands.


Attaching a Rib Band to a Sweater


Step 1. Zigzag baste the raw edges of the rib band together.
Start at the seam and carefully match rib for rib as you sew. I use about a 4 mm width and a 4 mm length on the sewing machine. (I sometimes skip Step 1 entirely.) When the basting is finished, it's a good time to make sure the rib band fits comfortably over your hand (or your head or your hips depending on where it needs to go). Use a color to match your garment, so you don't need to remove the thread later.

Step 2. Mark the quarter points along the raw edges of the rib band and garment.
Old fashioned tailor's chalk or felt tip fade-away fabric markers are great marking tools. First I make a mark at the inside seam of the rib band and from there determine the halfway point and then the quarter points. Repeat on the raw edge of the garment.


Step 3. Pin the raw edges of rib band and the garment together.
I found it easiest to turn the garment inside out and slip the rib band inside the garment. I then match the quarter marks of  the rib band with quarter marks of the garment, right sides together. I prefer using binder clips,


...but ball point pins or t-pins are fine.


Step 4. Serge (overlock) the raw edges. 
With the ribbing on top, stitch through all layers. You'll probably need to set your Differential Feed to about a "2" for a sweater knit. (Janome users, I actually set mine a click or 2 above "2", depending on the stretch of the fabric.) Use the zigzag to guide your stitching. Stitch just to the left of the zigzag. The clips are so big, it's impossible to forget to remove them. But if you're using pins, don't forget to remove them before you reach the knife!


Step 5. Steam well. 
Steam the seam allowance in the direction toward the sleeve (or other main garment piece).


(Optional) Top stitch the garment close to the ribbing seam (not pictured).
If you decide to top stitch, it will look like the second and third pics in my Further Notes on the Providence Sweater post.

Finished! Quick and not difficult at all! Pros add rib bands without any basting. I still baste occasionally.

There are other ways to finish an edge of a sweater knit fabric. This one's probably the quickest and easiest, if you're want a "traditional cut and sew" look.

If you've ever used this technique, please let me know in the comments what variations you used. Also what's your favorite finishing technique with knits?

O!

___
Last update 19Sept2018

Updated

If not directed automatically, visit update here