

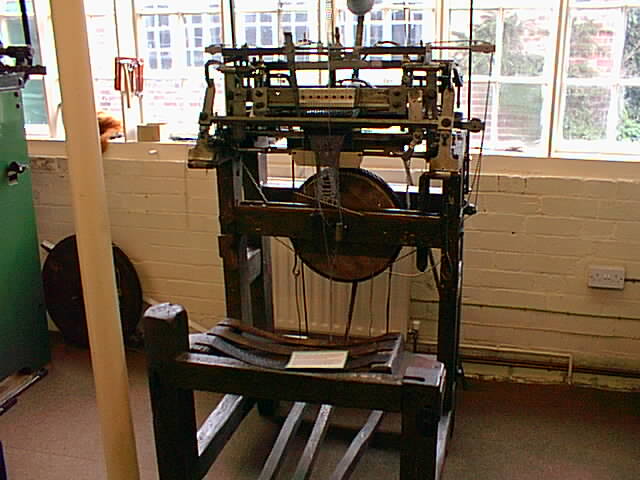
Knitting frame, exhibited at the Framework Knitters' Museum in Ruddington, England. Photo credit: John Beniston at en.wikipedia, CC BY-SA 3.0, Link
Soon after the invention of this precursor to the knitting machine, cut and sew knitwear (made from yardage produced on a knitting frame) gained a reputation for being poorly made and not as desirable as fully fashioned sweaters. In those early years full fashioning (shaping the garment with a series of knitted increases and decreases) could only be accomplished with hand knitting.
Though most ready-to-wear (RTW) full fashioned sweaters are now knitted in factories on industrial machines, factory-made cut and sew sweaters still have the reputation of being cheaply made. Some of the time the reputation is deserved. Quality sweater making, where the cutting and sewing is used strategically, does exist, however. Handmade sweaters, of course, are still highly valued today.
(There’s also another industrial knitting technique currently used to produce sweaters. Special advanced machines can produce knitwear in one piece with few or no seams. Sometimes referred to as 3D knitting, this category of knitting was first introduced by the Japanese company Shima Seiki under the trademarked name of wholegarment knitting.)
Making a cut and sew sweater at home is another story. It’s not really the same as factory produced cut and sew. You do it your way! Make it quickly and easily on the overlocker, or sew with great attention to detail and clean finishes. The latter is especially good when using a luxurious fabric or if fit is crucial. You can also use any combination of these methods in the same garment.
While many industrial cut and sew techniques easily transfer to home sewing, here are three practices used in RTW production that I don’t usually use on my own sweaters.
O!
(There’s also another industrial knitting technique currently used to produce sweaters. Special advanced machines can produce knitwear in one piece with few or no seams. Sometimes referred to as 3D knitting, this category of knitting was first introduced by the Japanese company Shima Seiki under the trademarked name of wholegarment knitting.)
Making a cut and sew sweater at home is another story. It’s not really the same as factory produced cut and sew. You do it your way! Make it quickly and easily on the overlocker, or sew with great attention to detail and clean finishes. The latter is especially good when using a luxurious fabric or if fit is crucial. You can also use any combination of these methods in the same garment.
While many industrial cut and sew techniques easily transfer to home sewing, here are three practices used in RTW production that I don’t usually use on my own sweaters.
The Neckband Seam on the Side
Ever notice how there’s almost always a seam on the left side of the neckband on a ready-to-wear cut and sew sweater? It’s because of the way they're constructed at the factory. The neckband is attached after the right shoulder is sewn but before the left shoulder is sewn. A neckband can be quickly attached this way, because the sewing is practically in a straight run. It’s very efficient and that seam on the left side becomes a continuation of the shoulder seam. Nice.
Nice, except that I rarely make my sweaters this way. I find that since I’m usually stretching the neckband to fit the neckline, I get a more evenly distributed band by dividing my band and neckline in fourths and placing the neckband seam in the back. (See video at end of that post.) If I’m doing a v-neck, I place the seam at the front v. Also, I love the look of bulky knits and I’ve learned to love working with them. Avoiding a major intersection of bulk in such a visible place is always my goal.

However, if I’m unsure of fit when working with an unfamiliar fabric or a totally new pattern I’ll sew up the side seams with a basting stitch first and check the fit before the sleeves are attached. I always baste with garment colored thread so I don’t need to remove stitches if the sweater fits. Then, with side seams sewn, once I'm happy with the fit, I set in my sleeves.
<rant> Are any flat pattern makers who make commercial sweater patterns specifically for home sewists reading this? Some of you put far too much ease in the sleeve cap. It’s truly not needed for a sweater knit. Really! Unless it’s a design for puffy sleeves, sweaters don’t require ease in the sleeve cap. There. I said it. Thank you for listening. Feel free to email me to discuss further. </rant>
I know that making a garment look like ready-to-wear is the goal for some sewists. I say learn from professionally made garments but, when you can, take time for fitting and careful construction. You may just find your sweater looking better than ready-to-wear.
 |
| Neckband seams on sweaters |
Sewing Sleeves in Flat
I love sewing sleeves in flat as is done in production sewing of sweaters. With this method, after the second shoulder is sewn and before the side seams are sewn, each sleeve is attached to the garment at the top. The underarm seam and side seams are then sewn in one run from cuff to hem.
However, if I’m unsure of fit when working with an unfamiliar fabric or a totally new pattern I’ll sew up the side seams with a basting stitch first and check the fit before the sleeves are attached. I always baste with garment colored thread so I don’t need to remove stitches if the sweater fits. Then, with side seams sewn, once I'm happy with the fit, I set in my sleeves.
<rant> Are any flat pattern makers who make commercial sweater patterns specifically for home sewists reading this? Some of you put far too much ease in the sleeve cap. It’s truly not needed for a sweater knit. Really! Unless it’s a design for puffy sleeves, sweaters don’t require ease in the sleeve cap. There. I said it. Thank you for listening. Feel free to email me to discuss further. </rant>
The Three-Eighths Inch Seam Allowance
I’m willing to use the three-eighths inch seam allowance only on certain types of sweater knits: anything that doesn’t fray too much like a relatively stable double knit jacquard (perhaps in wool). Some people do just fine with ⅜ inch seam allowances, I know, and it’s used successfully in industry. But my advice for anyone new to cutting and sewing sweater knits is to increase the seam allowance to one-half inch or more. For one thing, sewing close to the edge can result in rippling seams when using particular fabrics and sewing machines. If your fabric tends to fray and you need to make adjustments that involve unpicking a seam more than once, your entire seam allowance can become a bunch of scraggly, unknitted threads. Honestly, this has never happened to me because... I take precautions. But it can happen! Be kind to yourself. Increase a ⅜ inch seam allowance before you cut.I know that making a garment look like ready-to-wear is the goal for some sewists. I say learn from professionally made garments but, when you can, take time for fitting and careful construction. You may just find your sweater looking better than ready-to-wear.
Further Reading
- Seamless Knitting: Pros and Cons -- Not the industrial brand of “seamless knitting”, this is the hand knitted kind. I particularly agree with number 4 of the Cons.
- 3-D Knitting Brings Tech to Your Sweaters - for a Price -- This is written from the perspective of a non-knitting, non-fashion person on the MIT Technology Review site.
Learning the Skills
My online course How to Cut and Sew a Sweater will teach you the skills to sew sweater knits with confidence and ease. Get more information here.O!
This was interesting, thanks!
ReplyDeleteA pleasure! Thanks for reading.
Delete